• Home
  • The Shop
  • The Projects
  • What I Bought
  • The Free Stuff
  • Contact

Taylor Maed

Custom made from my hands to yours

Freebies

Wedding Save the Date/Change the Date Stickers – Free!

October 18, 2020

Freebie Sticker Sheet Download Wedding

Check out these simple sticker printables for your wedding save the dates. Or, if you unfortunately had your wedding scheduled this year and COVID made it move, we have change the date stickers too!

You can print these out on sticker paper and then cut them out using scissors or a cutting machine, like a Cricut.

Or you can purchase Avery sticker paper with the circles precut. I recommend these 2: Avery 1.5″ Stickers and Avery Sticker Paper 

Then, attach the stickers on the back of your envelopes, or put them straight on your Save the Date Card or Wedding Invitation.

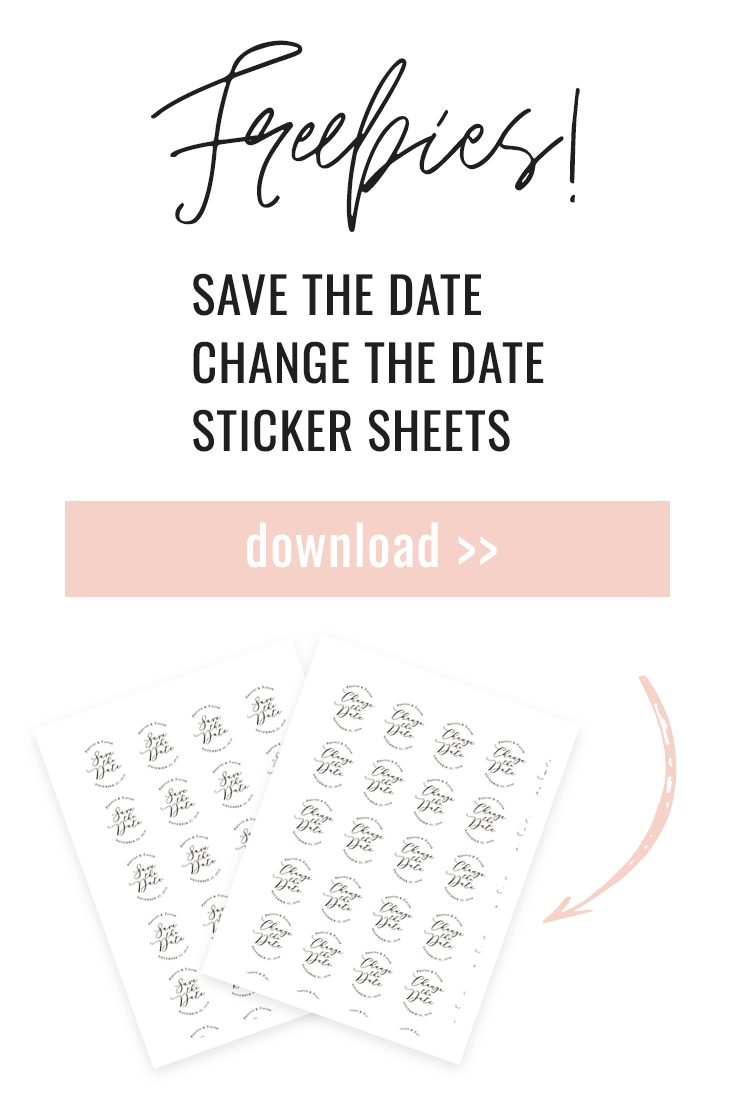
The stickers are 1.5″ in diameter.

Click here for Change the Date Stickers Download

Click here for Save the Date Stickers Download 

Check out my how to guide for uploading .pdfs, .pngs, or .jpegs into the Cricut for print then cut!

Be sure to subscribe to get more freebies and DIY projects.


← Back

Thank you for your response. ✨

The Shop

Deciding What to Sell on Etsy

October 18, 2020

deciding what to sell on Etsy

Deciding what to sell on Etsy was not entirely my choice, I kind of threw everything in my wheelhouse at the wall and waited till one stuck. I know there are a lot of blogs out there telling you the dos and don’ts of selling on Etsy and deciding your niche is probably the first thing on the list, but do you?

When I reopened my shop in April, I was selling bachelor party koozies, save the date stickers, acrylic wedding signs, and the cake stands (as well as quite a few other items) under the “Party Decor” category. I thought that I was selling a diverse assortment within my “niche” but what I had was a mess.

Inventory & Production Planning

I couldn’t order supplies in bulk because I wasn’t getting enough orders yet and so I was using Amazon to get fill-in supplies which was costing me more money over time. 

Each item also took a different amount of time to produce and required different shipping materials to ship. Cake stands are in various box sizes, stickers are in envelopes, and koozies are in padded envelopes. 

shipping materials

Removing Inefficiencies

With each item I decided to remove, I found inefficiencies that made it unprofitable or too time consuming to fulfill orders in a timely manner. For example, with the stickers, design and customization was easy to accomplish, but where I found issues was cutting them with my Cricut, I would waste pages of stickers paper and ink because the alignment of the machine would be off by 1/16 of an inch ruining an entire page of stickers. 

The koozies were very good for the profit margin, but they were the most time consuming item on my listings. If I were to get an order of 9 bachelor party koozies (which was the average #), I would be weeding vinyl for 5+ hours. This would take up time that I could be doing other things for other items. The time spend did not equal the amount of money being made per koozie.

What Next?

Don’t get me wrong, I don’t only want to sell cake stands, but finding the next step that feels natural has been a process. I want to tell a cohesive story in my shop but we don’t have the manpower to make and sell multiple different items. 

Shop at TaylorMaed Designs

New items to come. I promise.

The Projects

How to Print then Cut a PDF on a Cricut

October 18, 2020

So you’ve downloaded my free stickers and want to print then cut them on your Cricut…

How to Print then Cut on Cricut

First, download

You start with your own file or download the free sticker printable I posted here.

Once you have your file downloaded, open Cricut Design Space.

For PDFs

PDFs require a bit more work because you need to convert them to a usable file for Cricut. This can easily be done within the PDF file you have.

My screenshots are from a Mac but this process works the same for Windows.

Open your pdf and go to file.

The choose export to> image> jpeg:

Change a PDF to Jpeg

Save your image and jump back to cricut design space.

Now that you are using a compatible file

Create a new project in Design Space and click “Upload” on the left toolbar

New project in Cricut

Choose the jpeg image you would like to upload and select your image type depending on the complexity.

My image is only 2 colors and simple shapes, so I’m going to choose “Simple”

Image type in Cricut

Once you in “Select and Erase”, remove anything you don’t want cut. For example, I only want the circles cut, so I am going to remove the area around the circles.

To make this simpler, I reduced my colors down to 2 so I could remove all the white at once.

Select and Erase in Cricut

Save your new image as a print then cut image

print then cut on cricut

Editing your image in Design Space

When you first upload your image, it may be too large to print then cut.

You will need to reduce your image size to be within 6.75″ wide and 9.25″ tall. This will fit the image on a letter size piece of paper with enough room for the register marks for the Cricut to read.

reduce image size
print then cut reduced size

Print then Cut

Make sure your machine is connected either by USB or Bluetooth and be sure your image is set up correctly on your page

Set mat placement on Cricut

Send the image to your printer and print. This should be your regular printer settings.

Print on Cricut

Set your Cricut to vinyl, load the mat, and cut!

(The thick black circles you see is because I had the page print with bleed. This isn’t necessary)

cut on cricut

And there you have your stickers!

save the date sticker

Comment and share! And be sure to download the Save the Date or Change the Date stickers here.

  • « Previous Page
  • 1
  • …
  • 4
  • 5
  • 6
  • 7
  • Next Page »

About Me

Wife, corgi mom, and dedicated DIYer.  In addition to my full time job in Sourcing, I plan and design party decor. I want to use this site to share my knowledge and projects (and sometimes a freebie or two) with my fellow party people.

As an Amazon Associate I earn from qualifying purchases.

Recent Posts

  • Masters Watch Party Ideas: Aesthetic Hosting & Personalized Party Favors April 13, 2026
  • The Art of the Slow Host: Why I’m Trading DIY for Curation April 2, 2026
  • Bachelorette DIY: Streamer Photo Backdrop September 29, 2021

SUBSCRIBE

Sign up for freebies and post updates straight to your email

Privacy Policy

Calendar

May 2026
M T W T F S S
 123
45678910
11121314151617
18192021222324
25262728293031
« Apr    

TaylorMaed Designs

[etsy-shop shop_name="TaylorMaedDesign" section_id="25455146" limit="5" offset="1"]

Archives

  • April 2026
  • September 2021
  • April 2021
  • February 2021
  • November 2020
  • October 2020
  • December 2019

Meta

  • Log in
  • Entries feed
  • Comments feed
  • WordPress.org
2026 TaylorMaedDesigns. All Rights Reserved. Design by SkyandStars.co
Back Top

Copyright © 2026 · Yoon Theme on Genesis Framework · WordPress · Log in